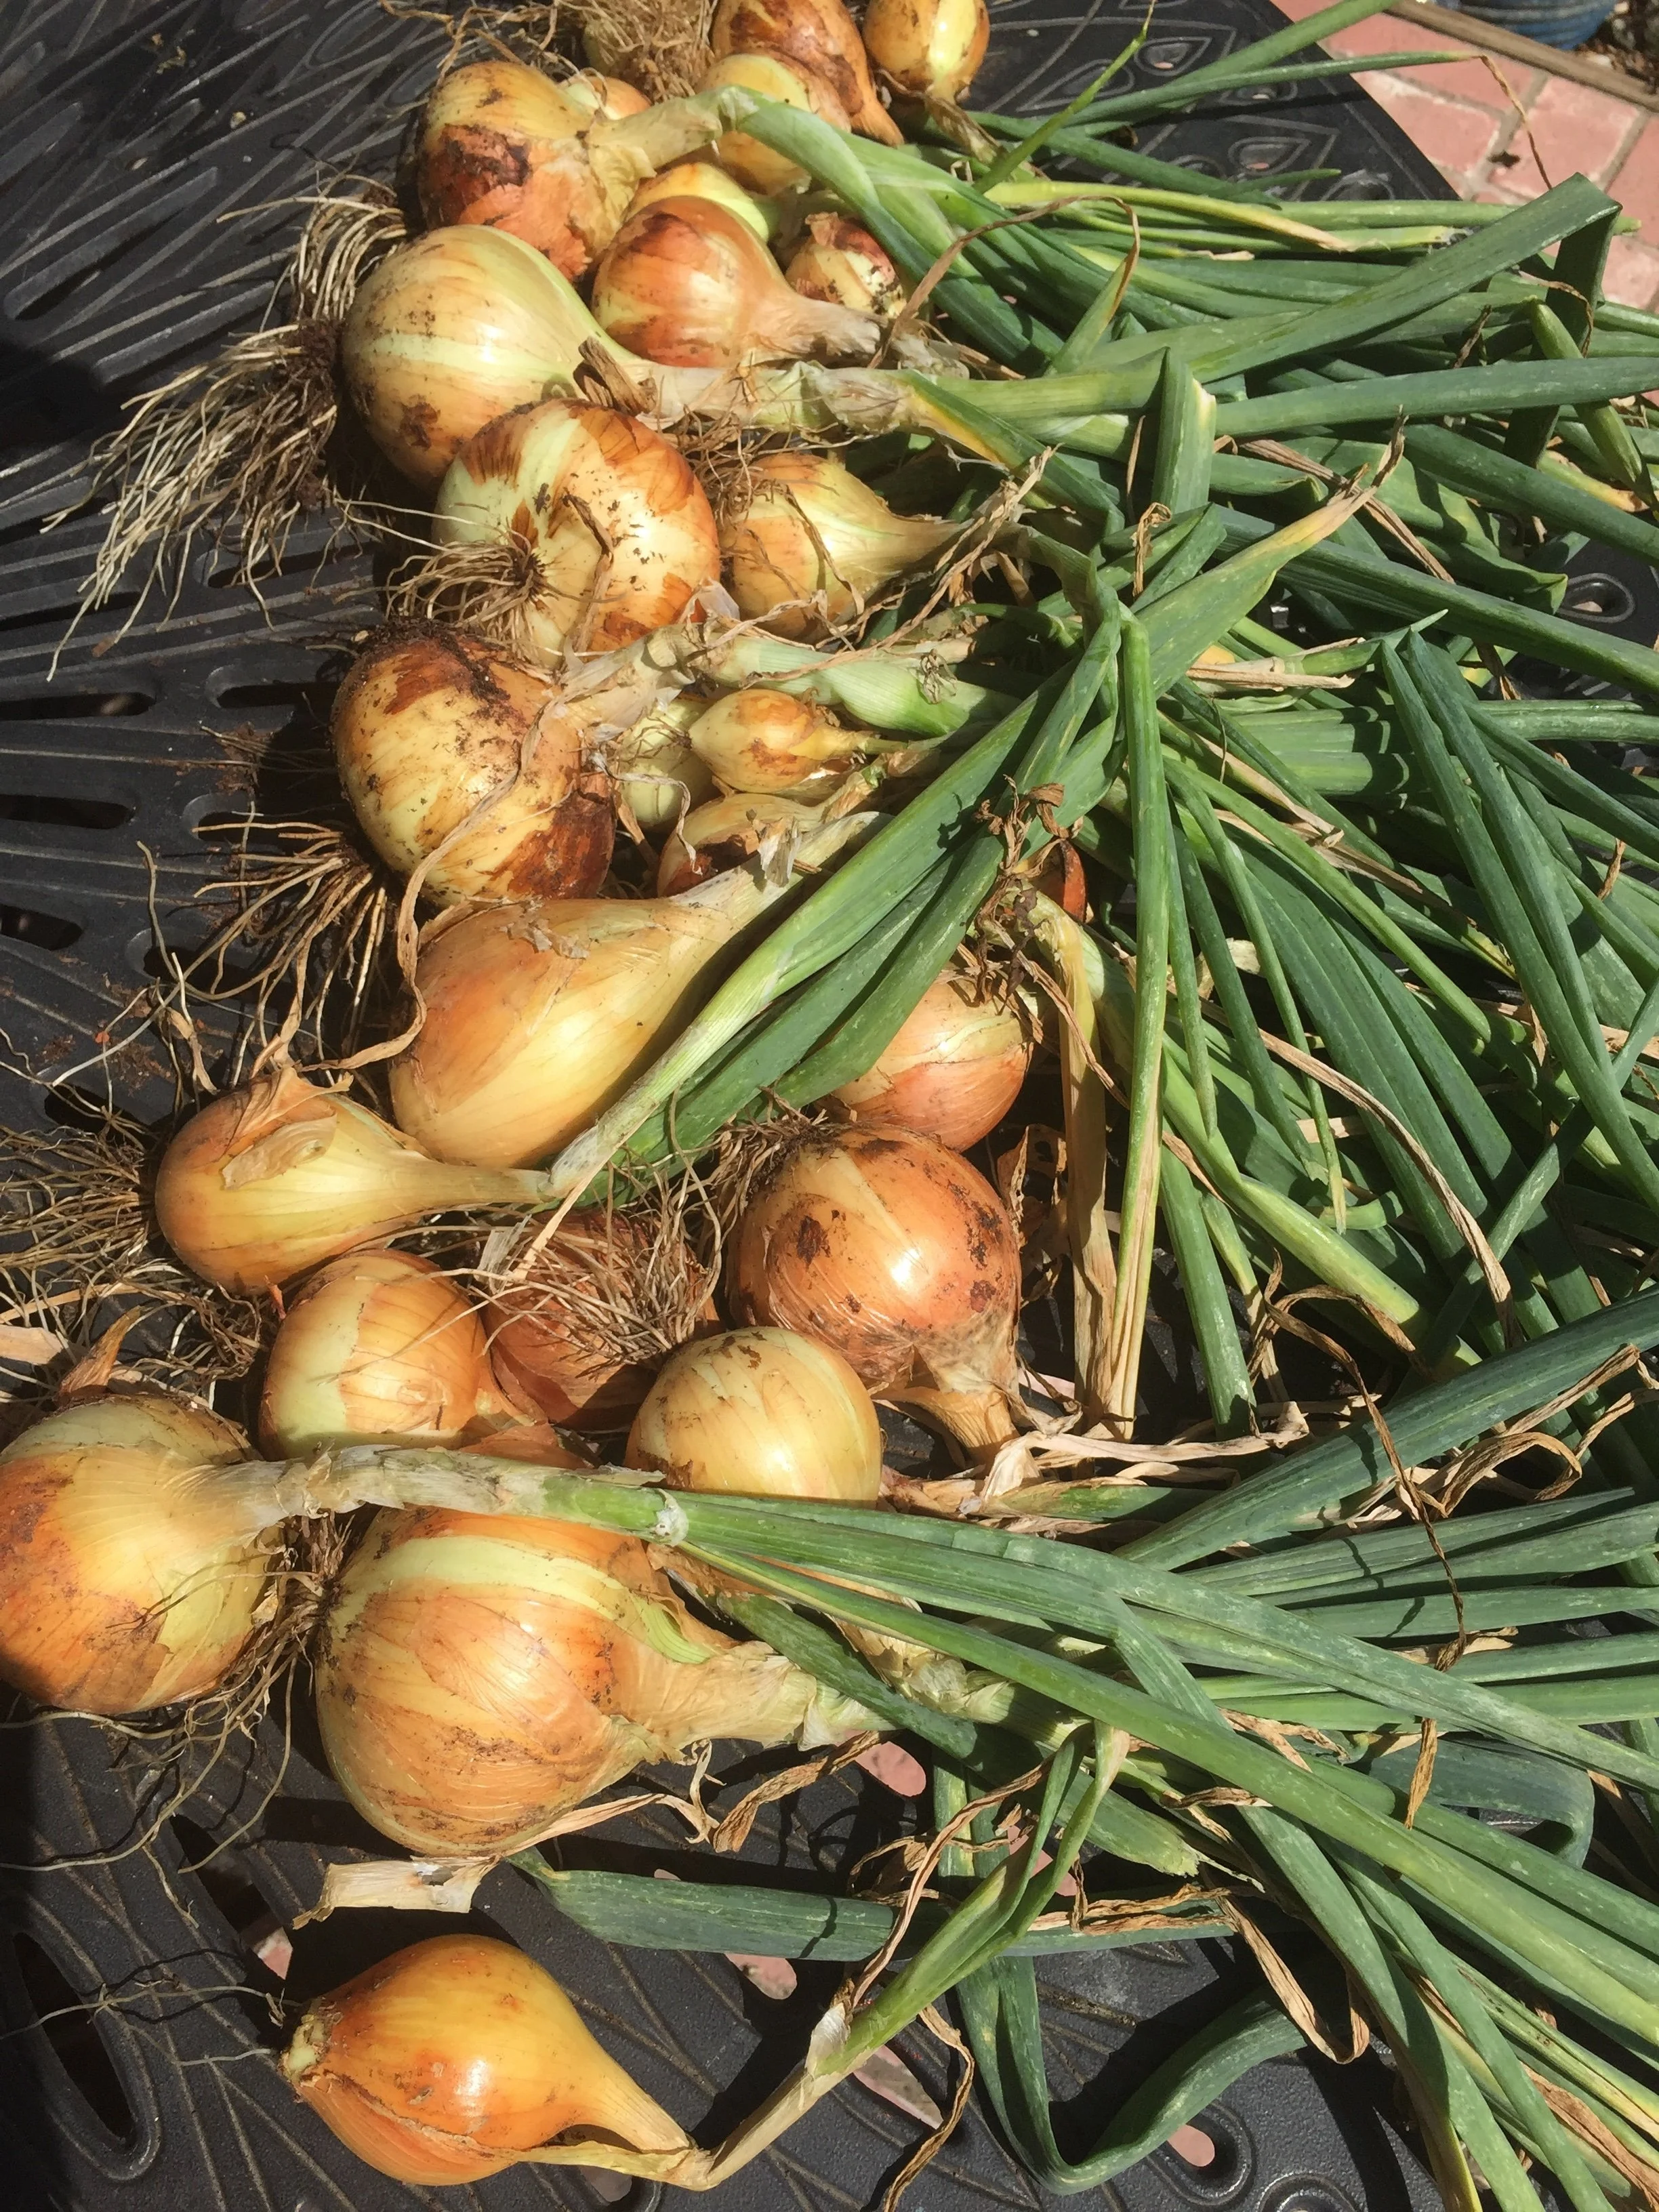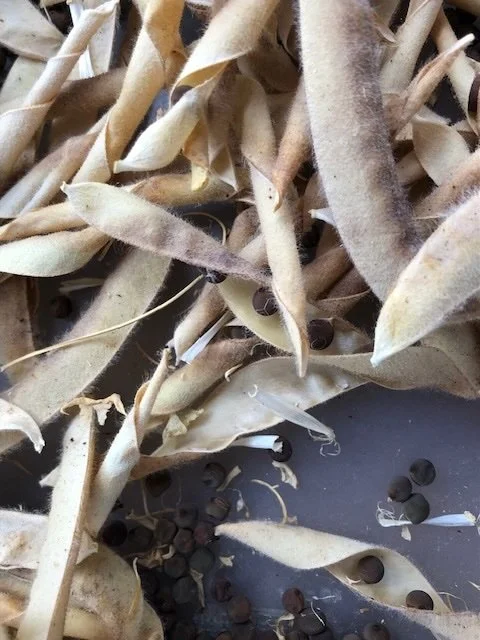
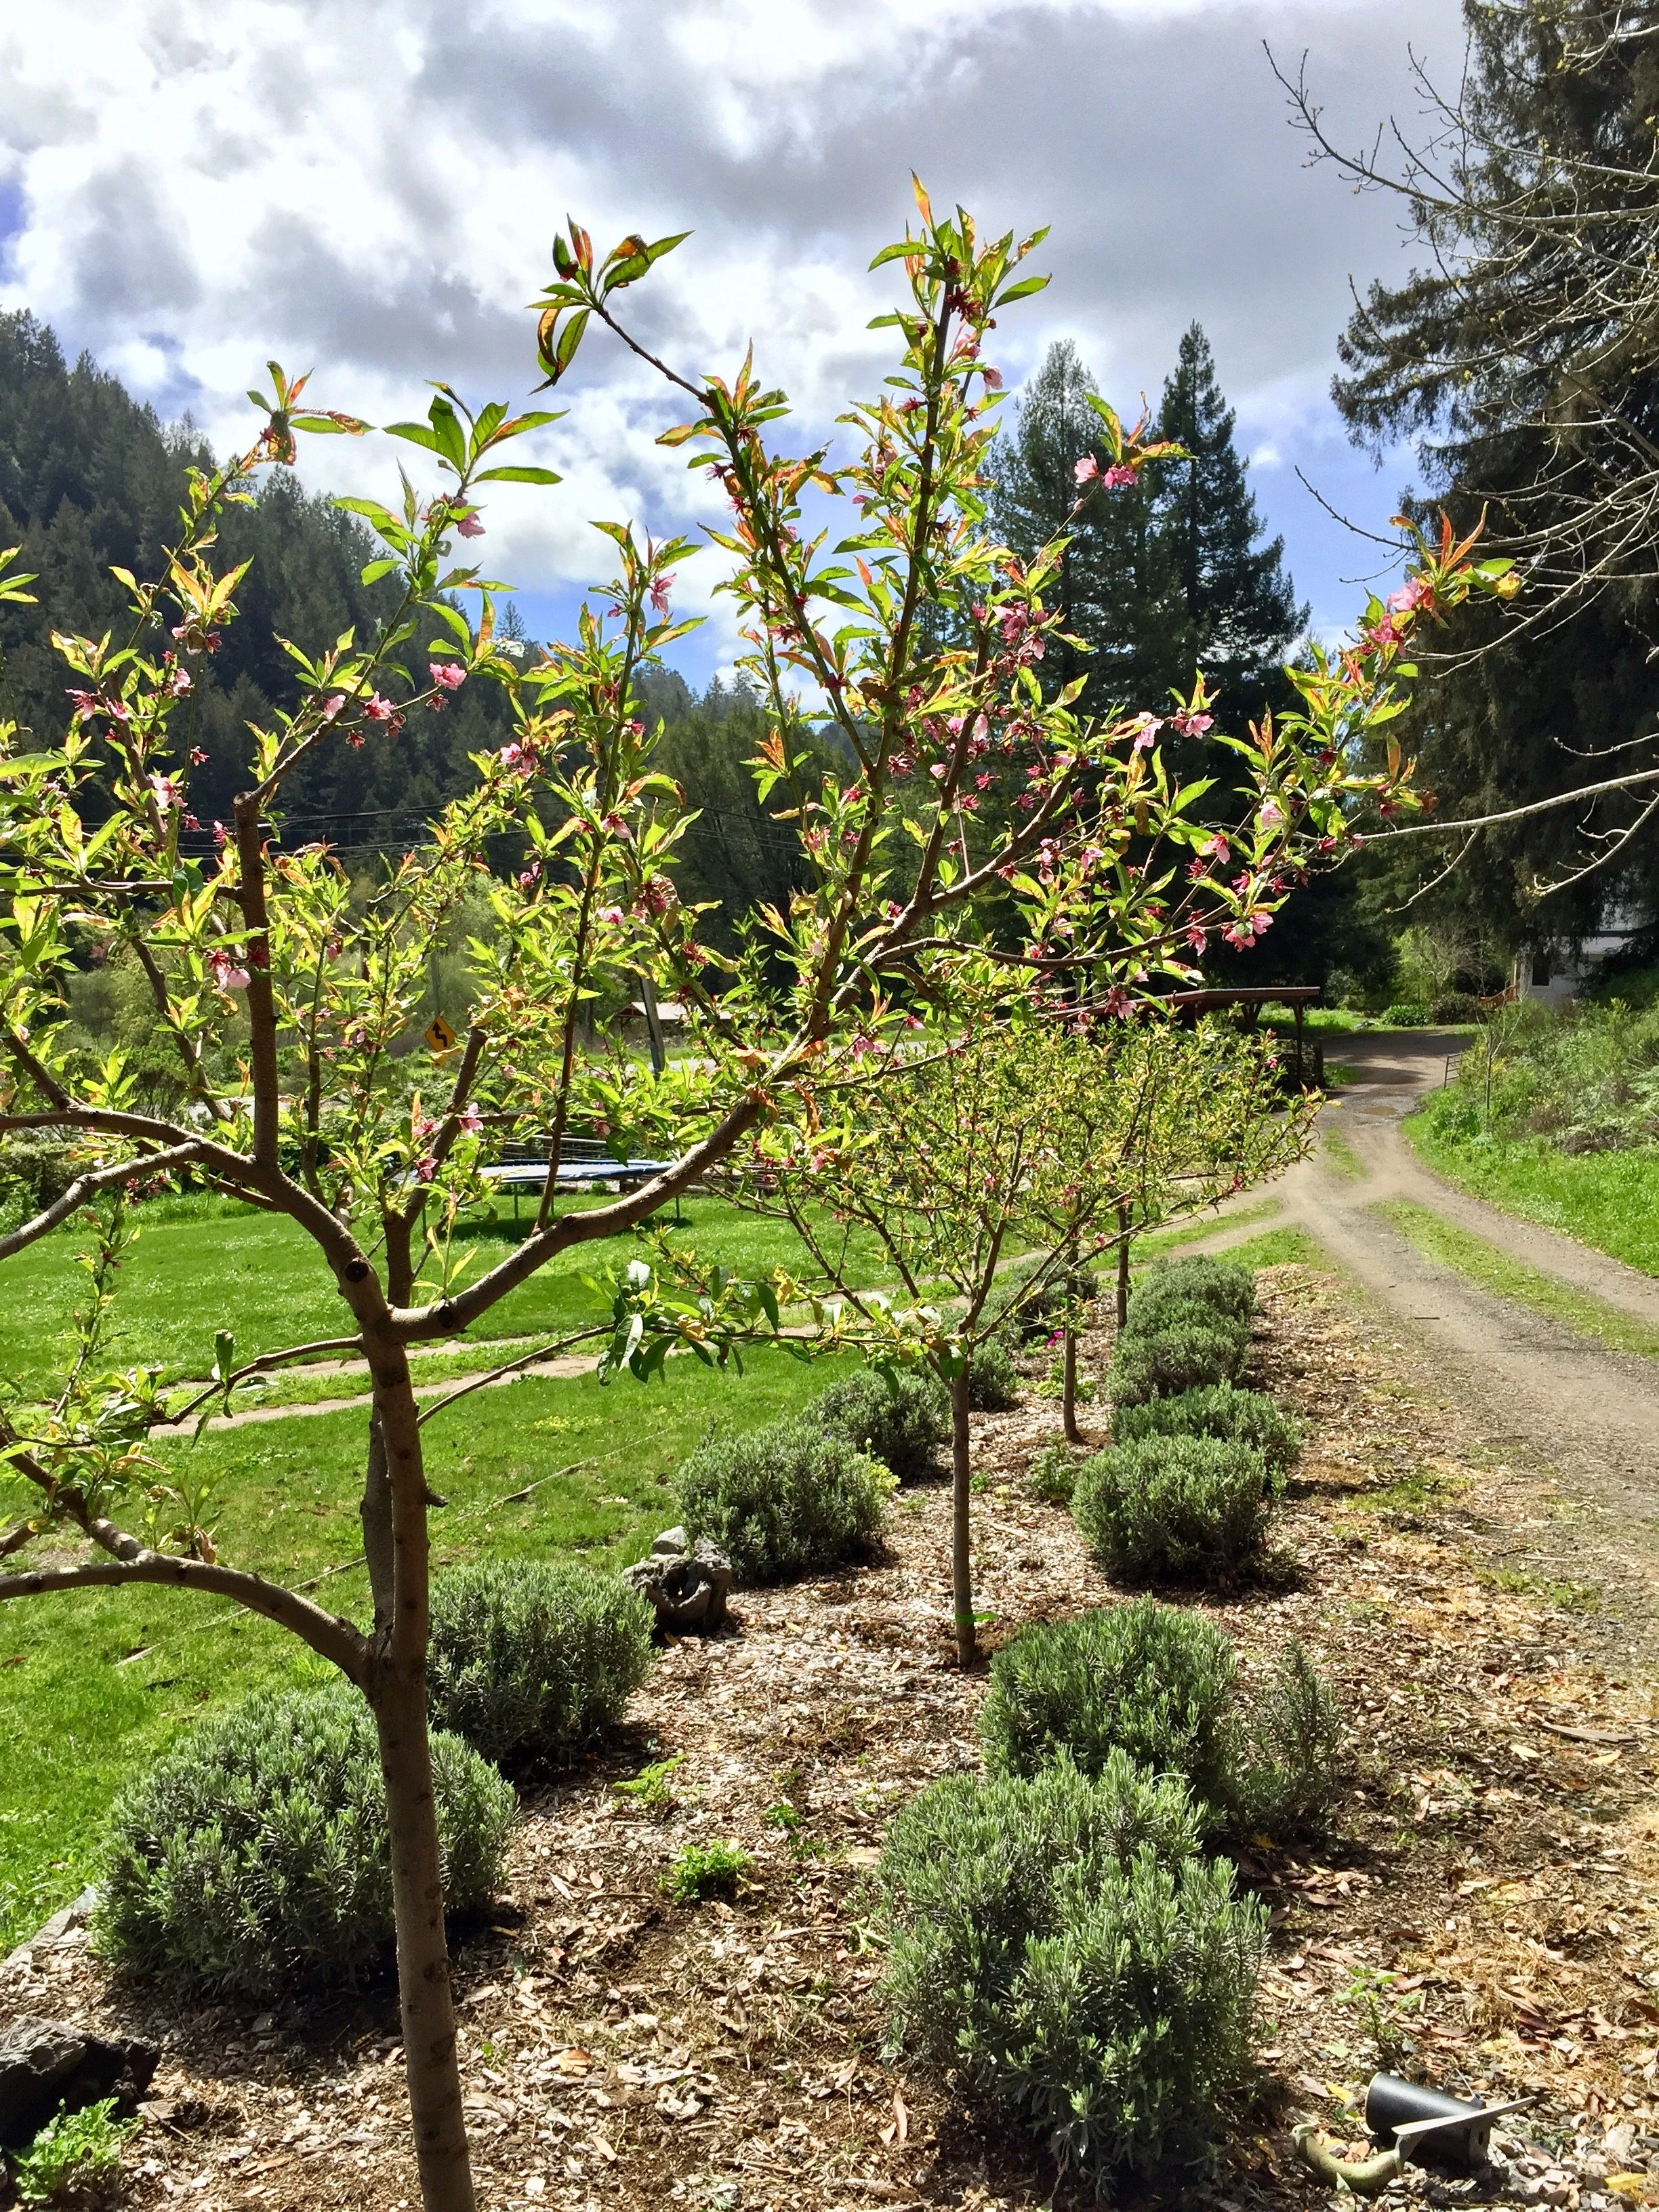
Vase Shaped Stone Fruit
Over the years, I’ve been asked many questions about pruning fruit trees. Let’s take a moment away from the veggie garden to focus on the rest of the yard, specifically stone fruits. July is the ideal time to begin working on cherries, plums, apricots, peaches, and nectarines. In our climate, stone fruit trees grow vigorously, so pruning prevents them from becoming overgrown and unproductive. Summer pruning is vital for maintaining a manageable tree height and ensuring fruit doesn’t become out of reach.
To understand the best way to prune, it helps to know where the fruit develops.
Peaches and nectarines produce almost entirely on what gardeners call “one-year-old wood” or branches that grew during the previous season. In other words, the shoots that grow this summer will be the branches producing fruit next year. You can often identify one-year-old wood by its smoother appearance and reddish or lighter-colored bark. It is usually more flexible and vigorous than older, gray wood.
By the second or third year, those same branches become less productive and begin slowing down. Without pruning, a tree gradually fills with older, less fruitful wood, while the productive growth moves farther and farther out toward the ends of the branches and the top of the canopy.
The goal of summer pruning is not to strip the tree bare, but rather to open it up for light, airflow, and fresh, productive growth.
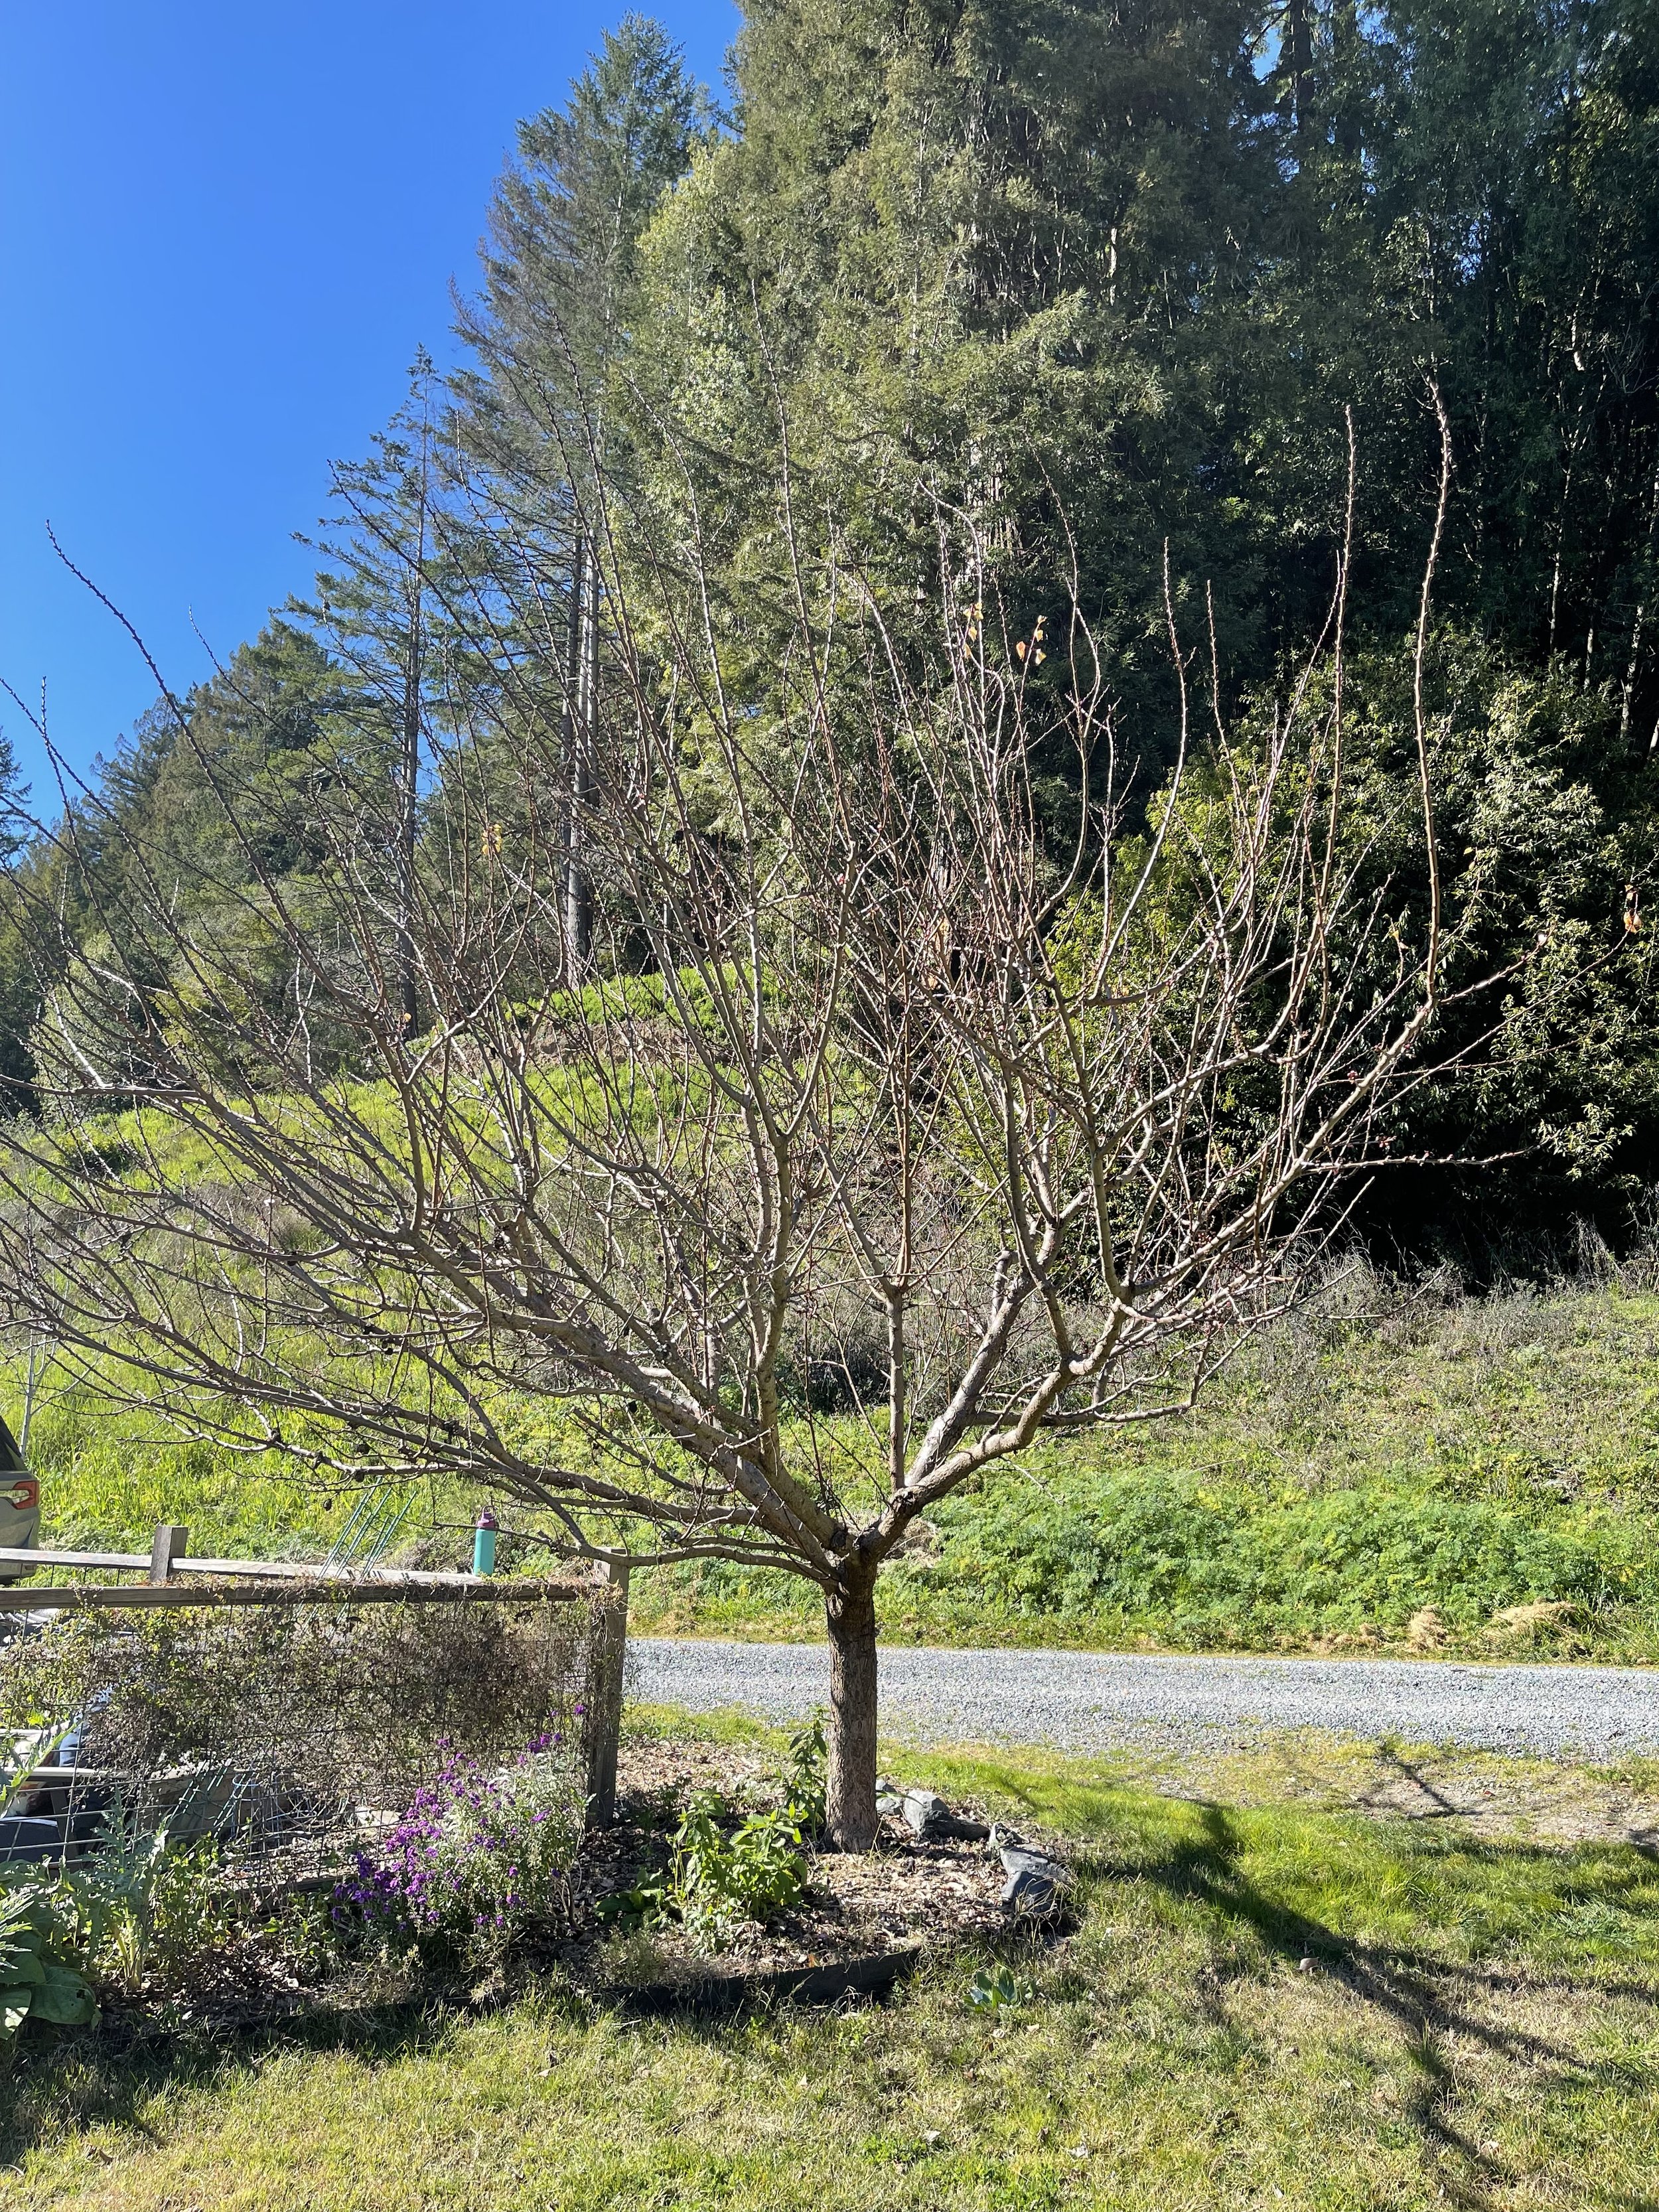
Open-Centered Apricot Tree
Start by removing any dead, damaged, or crossing branches. Next, look for vigorous upright shoots, often called water sprouts, which grow quickly but rarely produce quality fruit. Thinning these out helps direct the tree’s energy where it is most useful.
For home gardeners, height control is one of the biggest benefits of summer pruning. After all, there’s little reason to allow backyard fruit trees to grow 15 or 20 feet tall when harvest, thinning, and even netting become difficult at that size. Most stone fruits can be maintained between 7 and 10 feet tall with regular summer pruning.
An open-centered tree structure is ideal for most stone fruits. Gardeners often describe this as a “vase shape,” where the middle of the tree remains somewhat open rather than crowded with dense interior branches. As a result, sunlight can penetrate throughout the canopy, improving fruit ripening and reducing fungal disease pressure.
One of the biggest mistakes gardeners make is waiting too long between prunings. Fruit trees respond best to small, yearly cuts rather than severe corrective pruning after years of neglect. It’s also important not to over prune during periods of extreme heat. Leaves help protect branches from sunburn, especially during hot summer afternoons.
Summer pruning may feel intimidating at first, but it becomes easier with observation and practice. The more time you spend studying your trees, the more clearly you’ll understand how they grow, fruit, and respond to care. In time, a well-pruned fruit tree rewards your attention with healthier growth, easier harvests, and seasons of beautiful fruit close enough to pick by hand.
Happy Gardening!