Every year I grow pumpkins for their beautiful fall color, festive displays, and freshly roasted seeds. This Thanksgiving, I’m finally going to turn a homegrown pumpkin into a pie. I have always loved pumpkin pie, but I always reached for the can of Libby’s pumpkin. My grandma insisted that everyone keep a can on hand at all times, so in my family, no one ever attempted a pie any other way.
Libby’s canned pumpkin comes from its own strain of Dickinson pumpkin, so when considering a pumpkin for culinary use, it’s important to pick the right variety. Some of the best choices are old heirlooms, including New England Pie, Long Island Cheese, Winter Luxury, and Small Sugar. They are known for their flavor and dense, smooth flesh, and they tend to be less stringy and watery than varieties grown for carving.
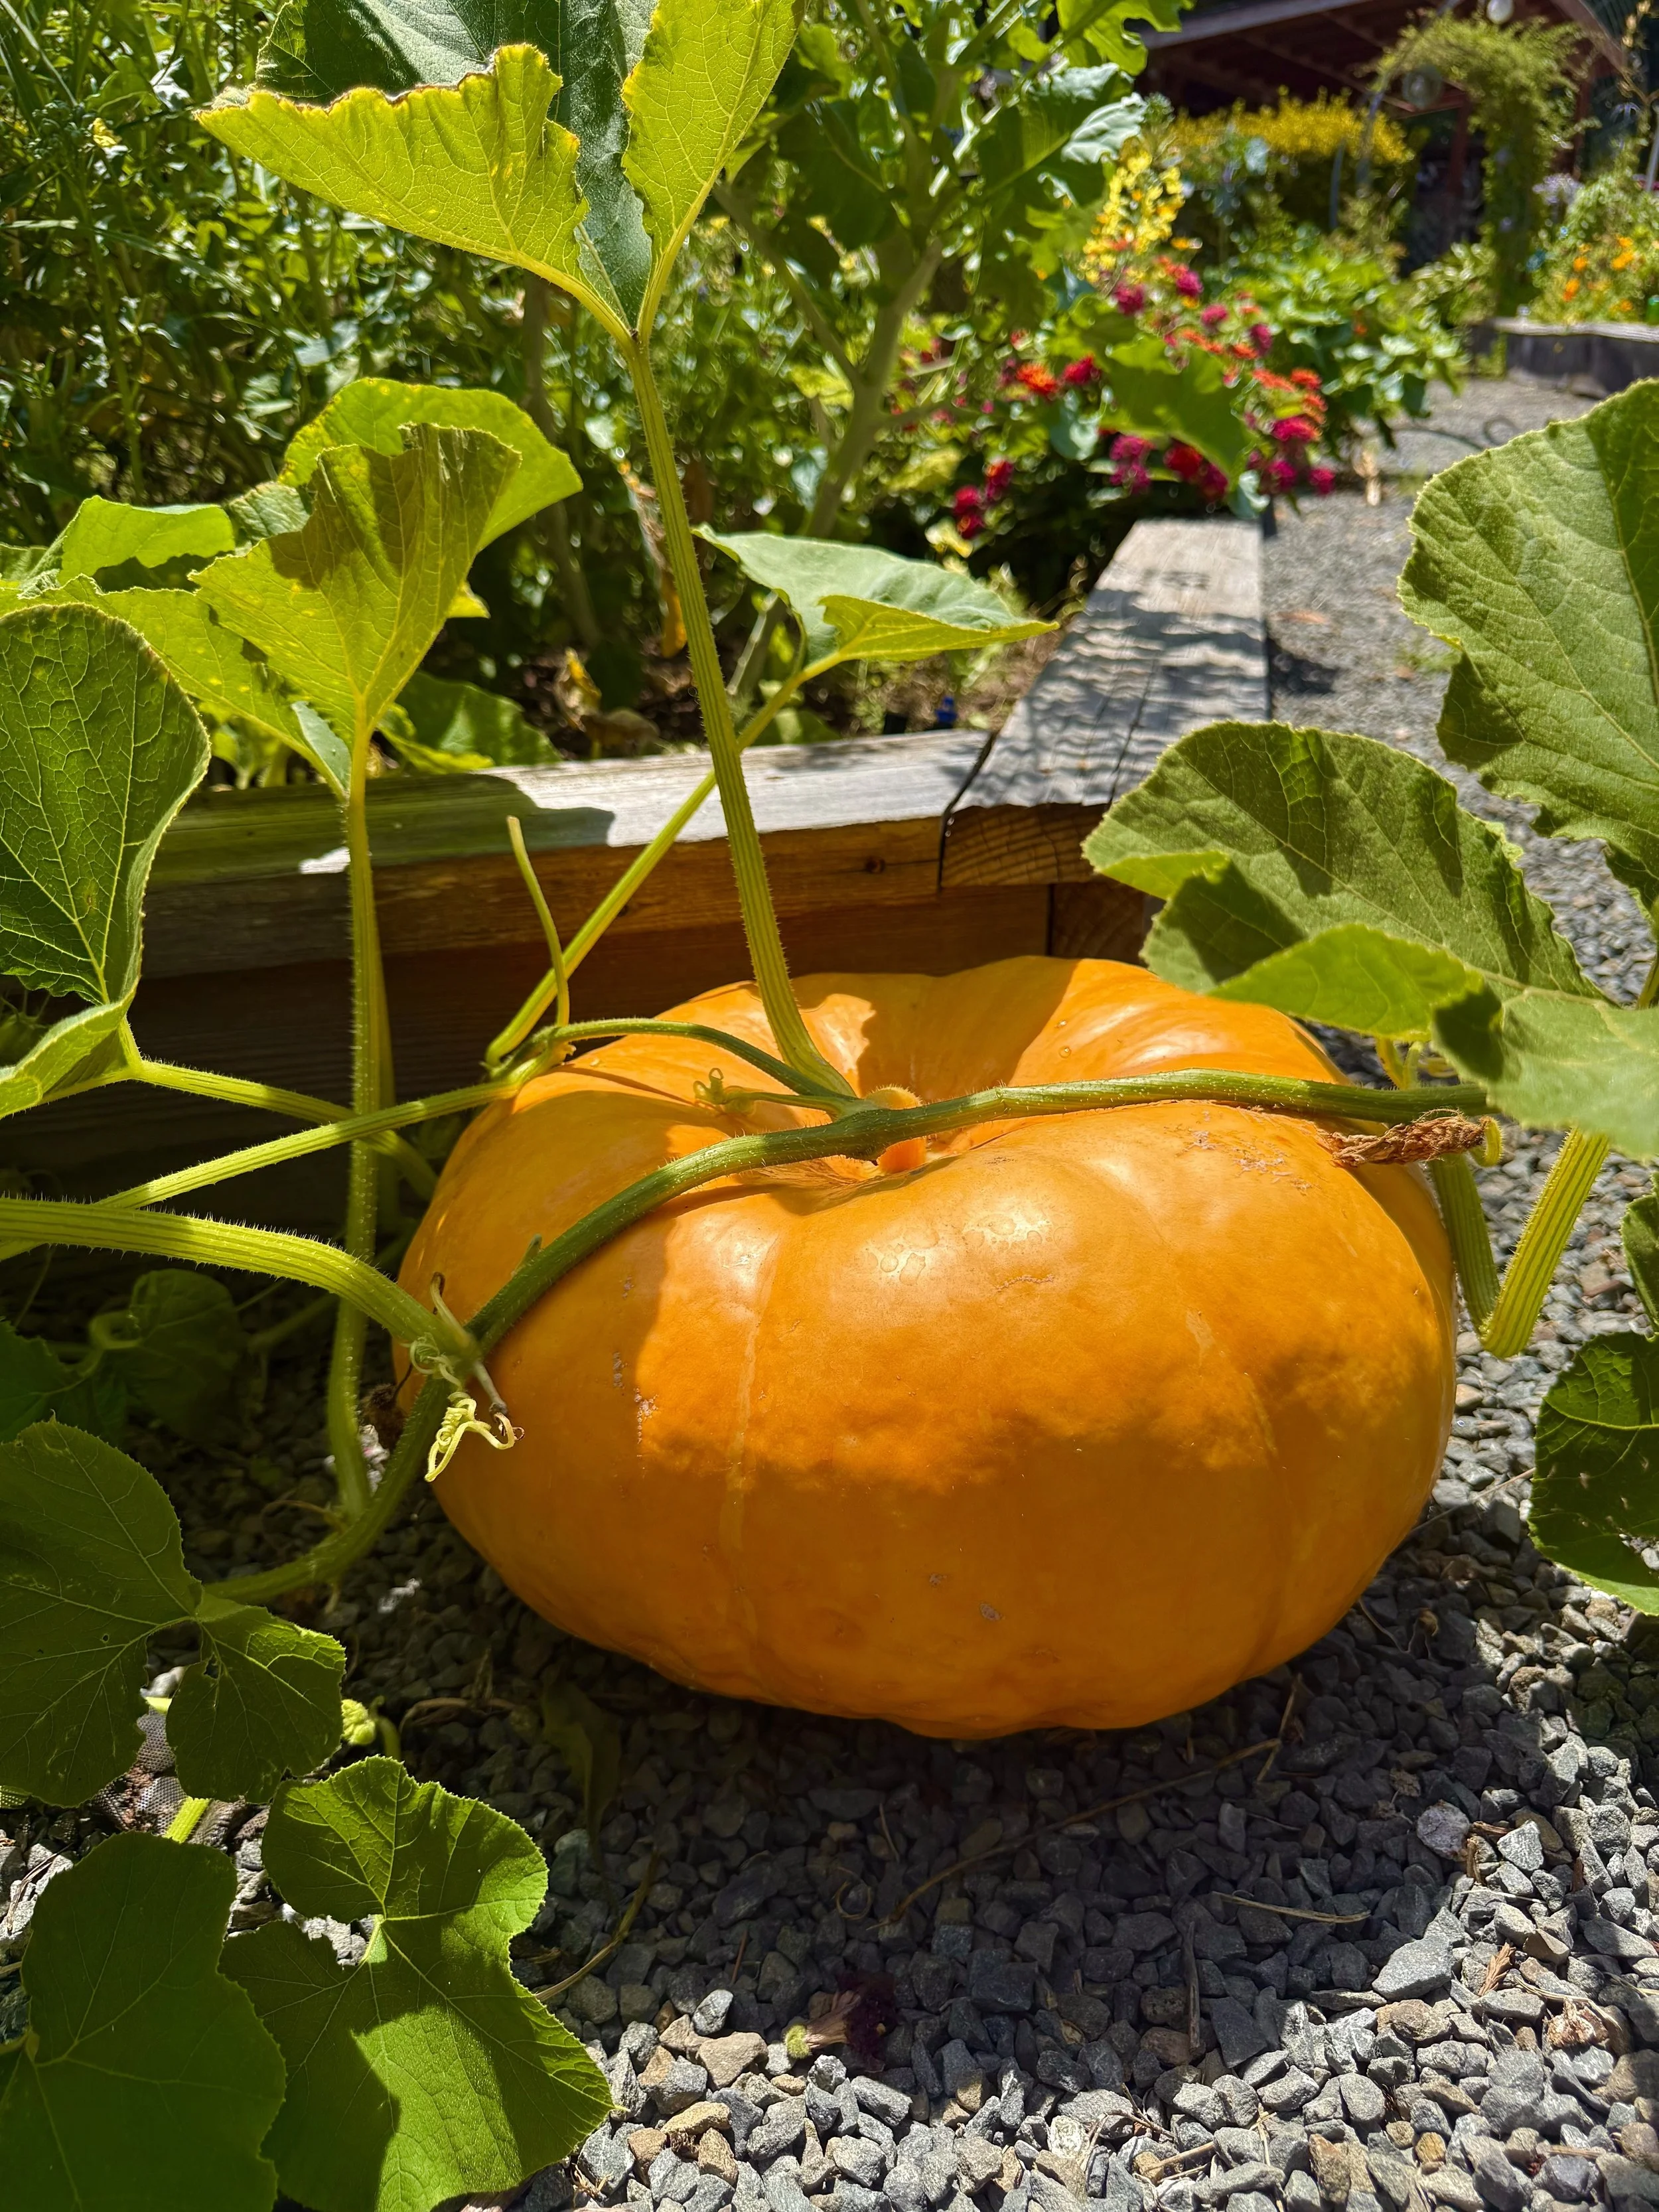
For my Thanksgiving pie, I’m planning to use the huge Cinderella pumpkin currently growing in my garden. I first found this heirloom, Rouge Vif d'Étampes, years ago through Baker Creek Seeds, and it’s a stunner. It has earned a permanent place in my garden year after year. If you want to read more about the French history surrounding this variety, Baker Creek has a wonderful description on its website.
Here are the steps from pumpkin to pie:
· Choose a fully mature pumpkin. Look for mature color, a hard rind that resists a fingernail, and a firm, dry stem. Cut it from the vine and leave several inches of stem.
· Cure it if appropriate for the variety. Keep it somewhere warm, dry, and well-ventilated for roughly a week or two after harvest. Curing helps harden the rind and improves storage life.
· Wash the outside before cutting. This matters because the knife can carry organisms from the rind into the flesh.
· Cut it in half or into manageable sections, then scoop out the seeds and stringy center.
· Roast cut-side down on a baking sheet at around 375°F until the flesh is completely tender when pierced with a fork. Depending on the thickness and size of the pieces, this could take roughly 45–90 minutes.
· Let it cool, then scoop out the flesh and purée it in a food processor or blender until smooth.
· Check the consistency. Fresh pumpkin can contain considerably more water than canned pumpkin. If the purée looks loose, let it drain in a fine-mesh strainer or cheesecloth until it's closer to the consistency of canned pumpkin.
· Measure it after draining. Now it’s ready to go into your favorite pumpkin pie, bread, muffin, soup, or other recipe that calls for pumpkin purée.
Now, doesn’t that sound easy? I’ve been putting this off for far too long, and I’m excited for the prospect of my own home-grown pumpkin pie. Many thanks to all the readers out there who have sent me emails with questions or shared stories about their own gardens. If you end up making something delicious with a fresh pumpkin, I’d love to see how it turns out.
Happy Gardening!